Errore nel formato dell'e-mail
emailCannotEmpty
emailDoesExist
pwdLetterLimtTip
inconsistentPwd
pwdLetterLimtTip
inconsistentPwd

Notizia

How to Remove a Wall-Mounted Handrail: A Step-by-Step Guide with Handrail Base Plate Design
Wall-mounted handrails provide support and safety in various settings. However, there may come a time when you need to remove or replace a handrail. In this comprehensive guide, we will walk you through the step-by-step process of removing a wall-mounted handrail, with a focus on the handrail base plate design. Understanding the base plate design is crucial for a successful removal process.
Step 1: Assess the Handrail and Base Plate Design
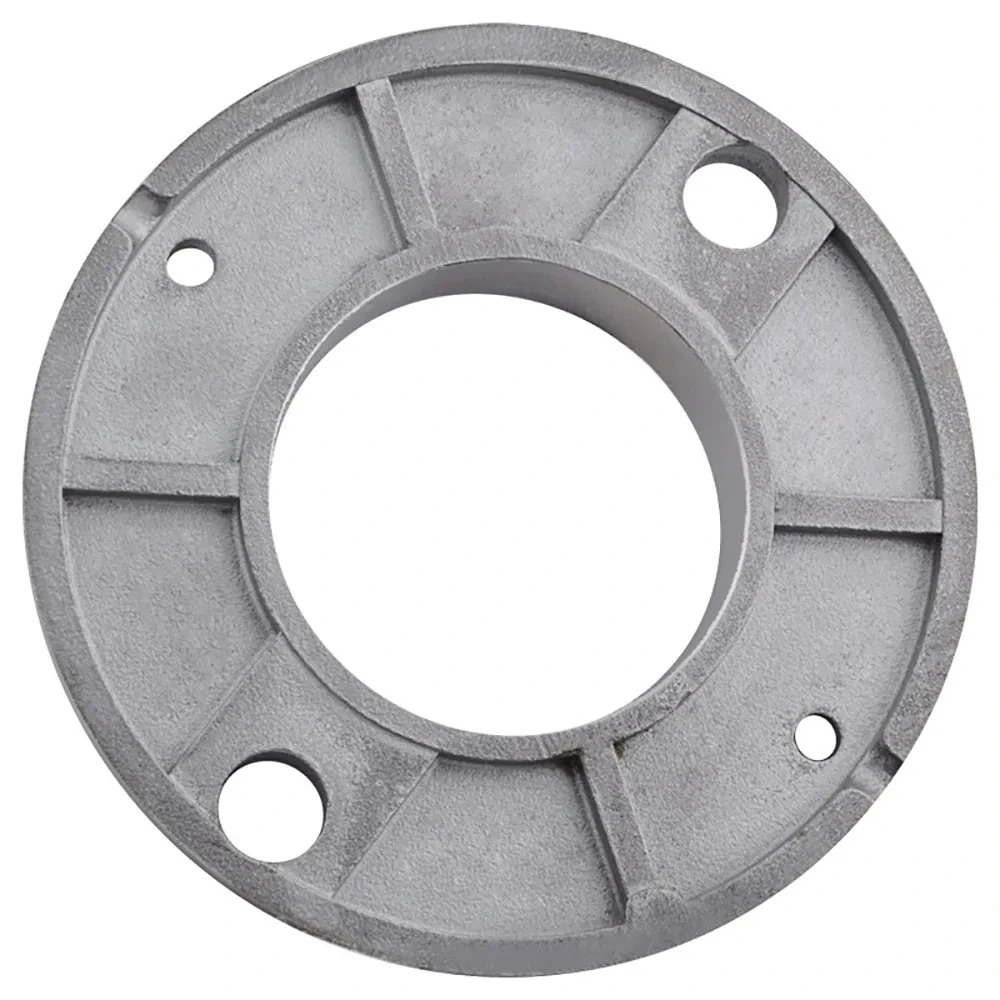
Before you begin, take a close look at the handrail and its base plate design. Familiarize yourself with the type of base plate used, as this will determine the removal method. Common base plate designs include screw-on, snap-on, and adhesive types.
Step 2: Gather the Necessary Tools
To remove the handrail, gather the necessary tools. These may include a screwdriver, pliers, a putty knife, a hammer, a pry bar, and safety goggles. Having the right tools on hand will make the removal process easier and safer.
Step 3: Remove the Handrail Screws or Fasteners
If your handrail has a screw-on base plate, start by removing the screws that secure it to the wall. Use a screwdriver appropriate for the screw type and size. If the base plate is held in place by other fasteners, such as snap-on or adhesive types, skip to the next step.
Step 4: Release Snap-On or Adhesive Base Plates
For snap-on base plates, carefully insert a putty knife or a flathead screwdriver between the base plate and the wall. Gently pry the base plate away from the wall, working your way around until it is completely released. If the base plate is adhesive, use a hairdryer to heat the adhesive, making it easier to remove. Then, use a pry bar or pliers to gently pull the base plate away from the wall.
Step 5: Patch and Repair the Wall
After removing the handrail and base plate, assess the condition of the wall. If there are any holes or damage, patch them using spackle or joint compound. Allow the patch to dry, then sand it smooth. Finally, touch up the paint or finish to match the surrounding wall.
Step 6: Dispose of the Handrail and Base Plate
Properly dispose of the removed handrail and base plate. If they are in good condition, consider donating or repurposing them. Otherwise, dispose of them according to local regulations.
Conclusion:
Removing a wall-mounted handrail involves understanding the handrail base plate design and using the appropriate removal method. By following the step-by-step guide outlined above, you can successfully remove a handrail and base plate, allowing for repairs, replacements, or updates. Remember to prioritize safety by using the right tools and taking precautions. With careful execution, you can complete the removal process smoothly and efficiently.

